Supplies
To make this craft, you will need:
- 2.5" Wired Ribbon
- Glue Gun
- Pipe Cleaner
- Scissors
Instructions
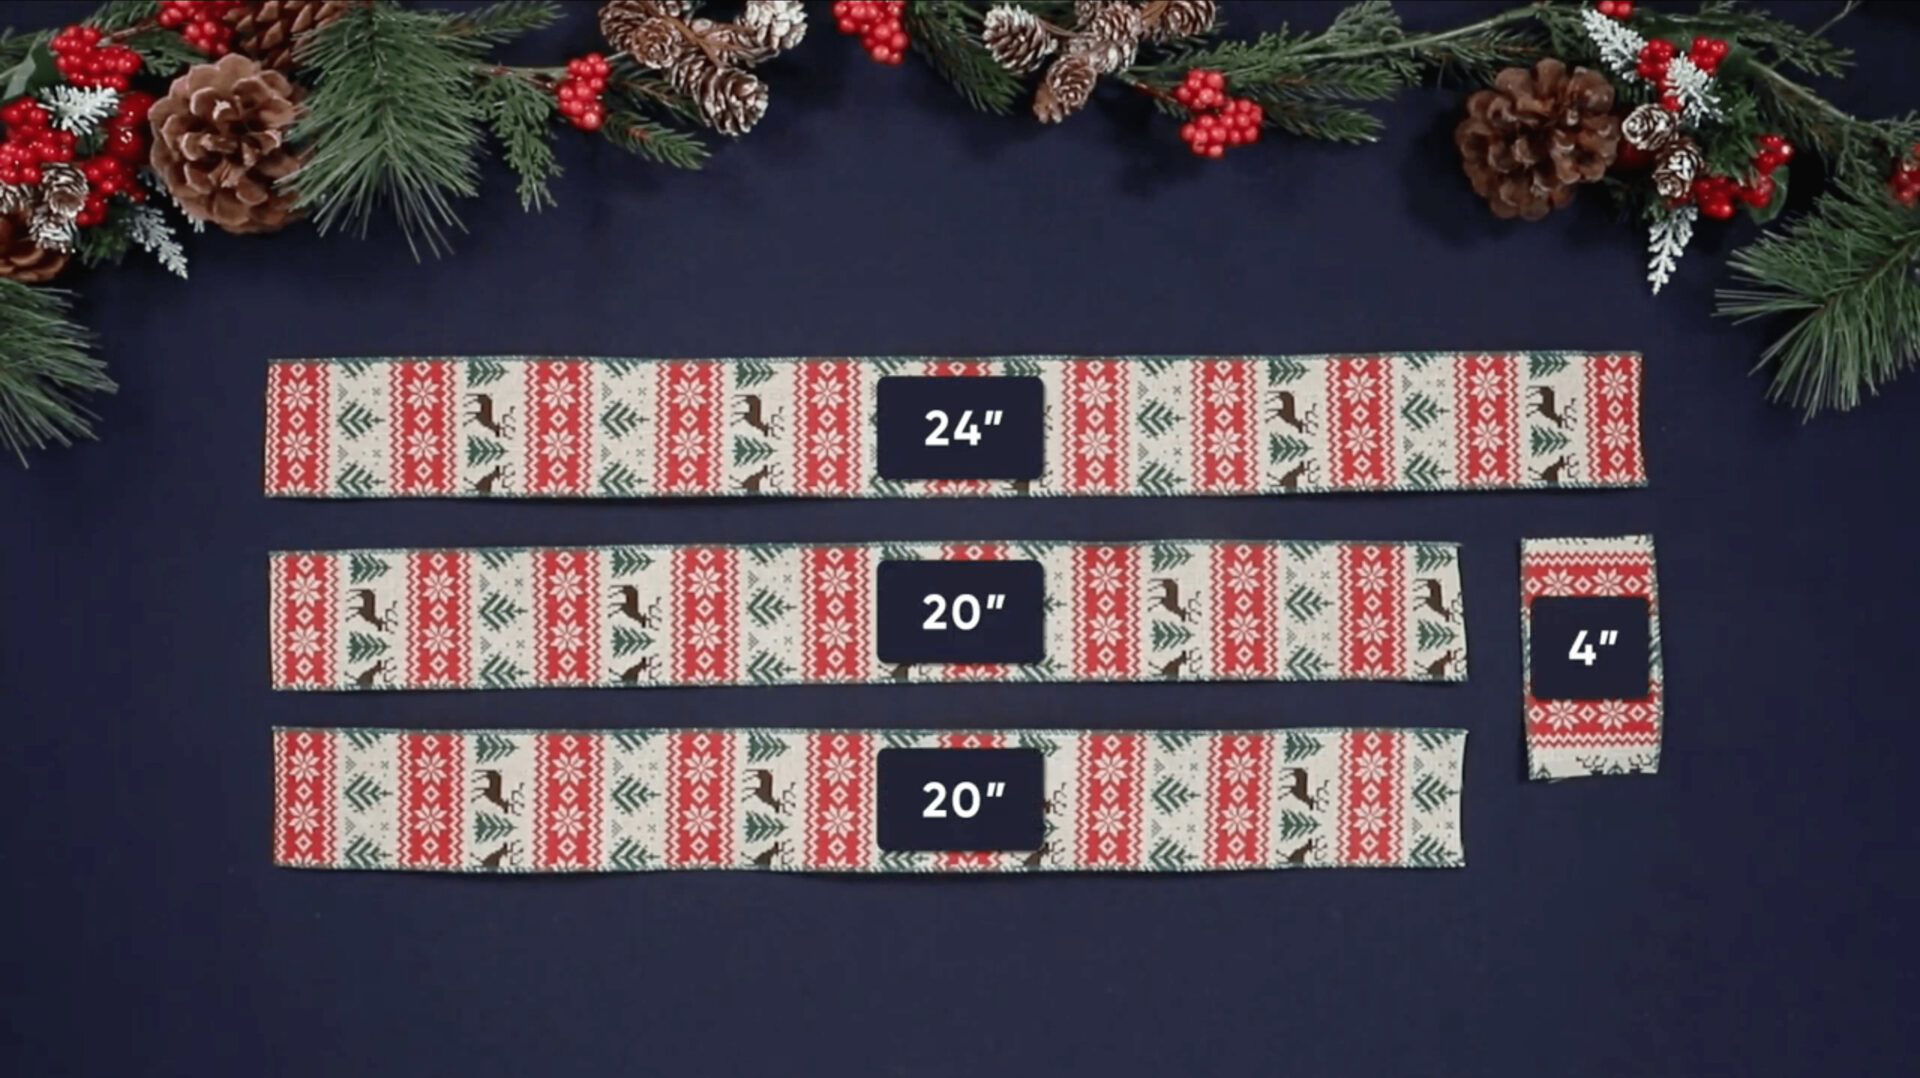
- Cut the decorative ribbon into two 20″ long strands, one 24″ long strand, and one 4″ strand.
- Take one of the 20″ long ribbons and fold the two ends into the center of the ribbon’s back. This will make two bows. Make sure they are even in size and that the correct side of the ribbon is facing outward. Repeat this step with the second 20″ long ribbon. You will have four loops total.

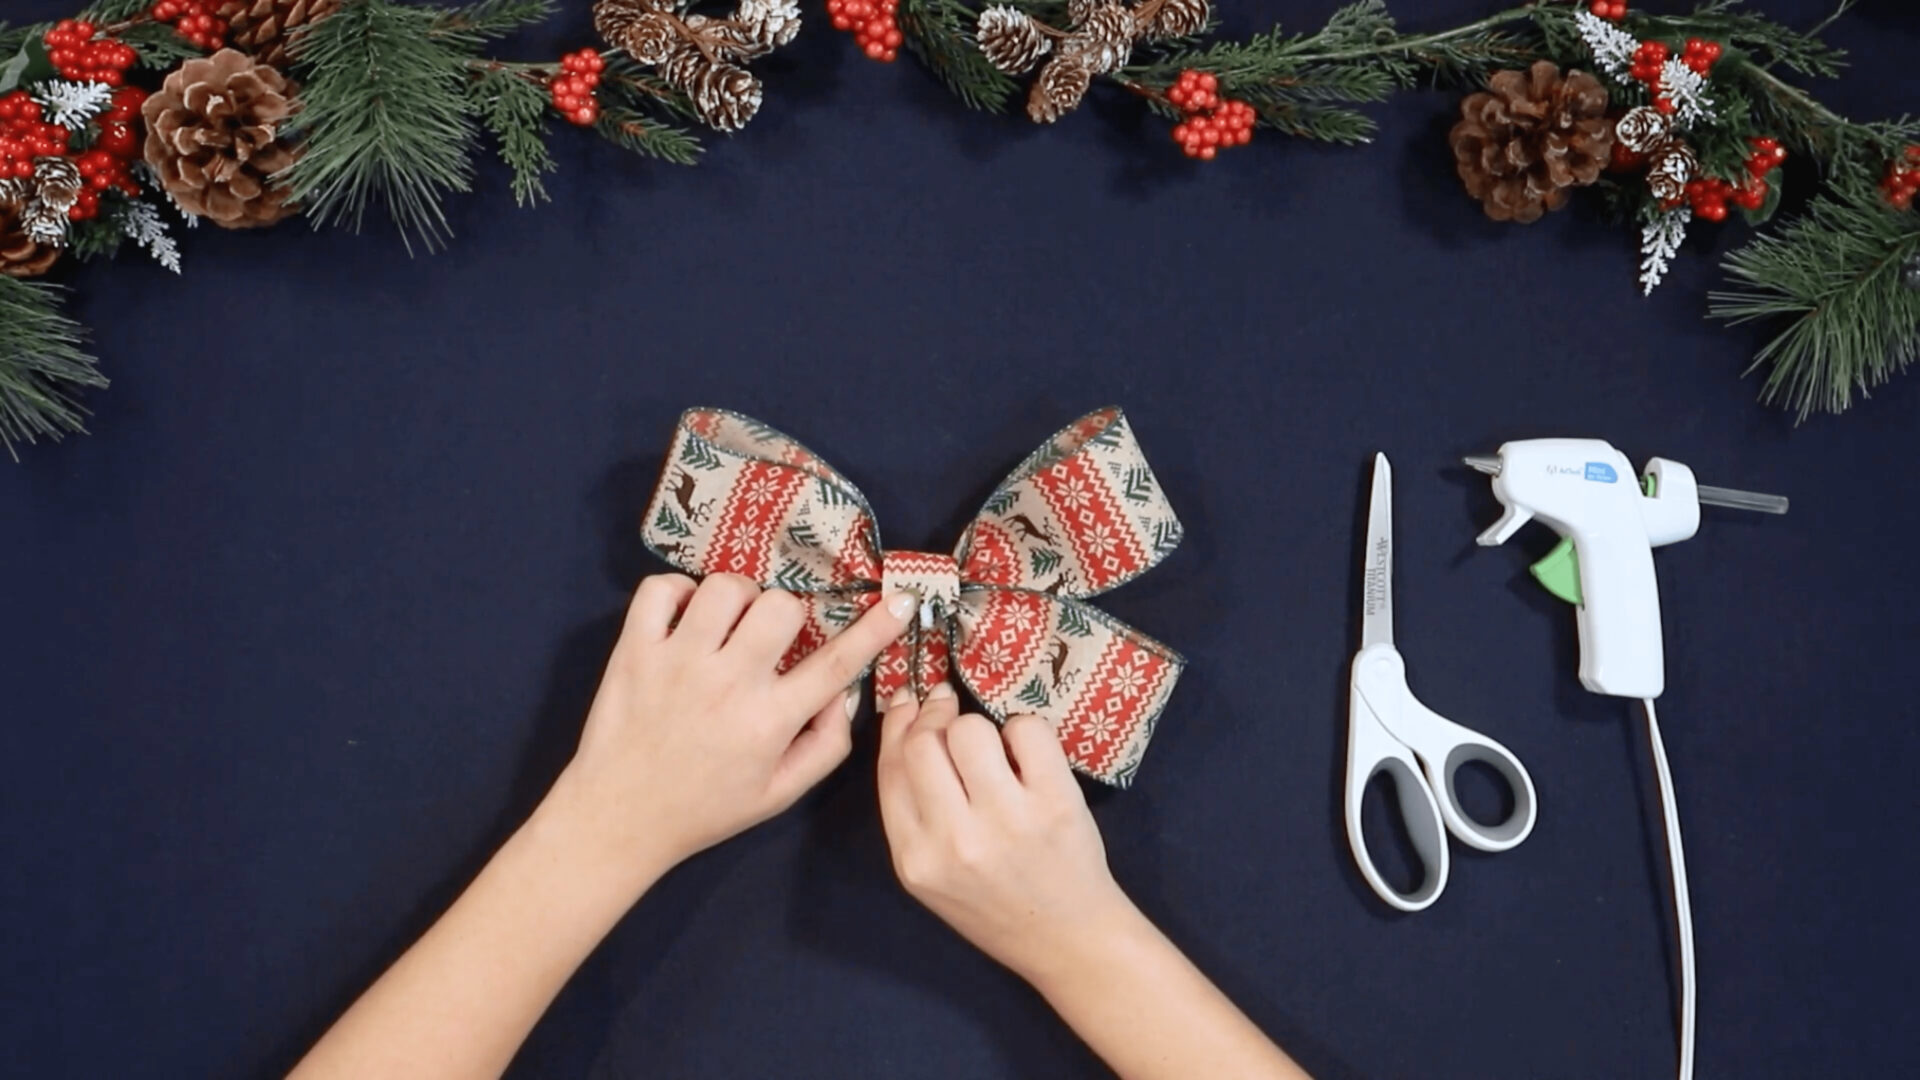
- Hold one of the folded pair of loops in the center and pinch the center of the ribbon together. Pick up the other looped ribbon and scrunch the center of each one together to form what starts to look like a bow with four loops!


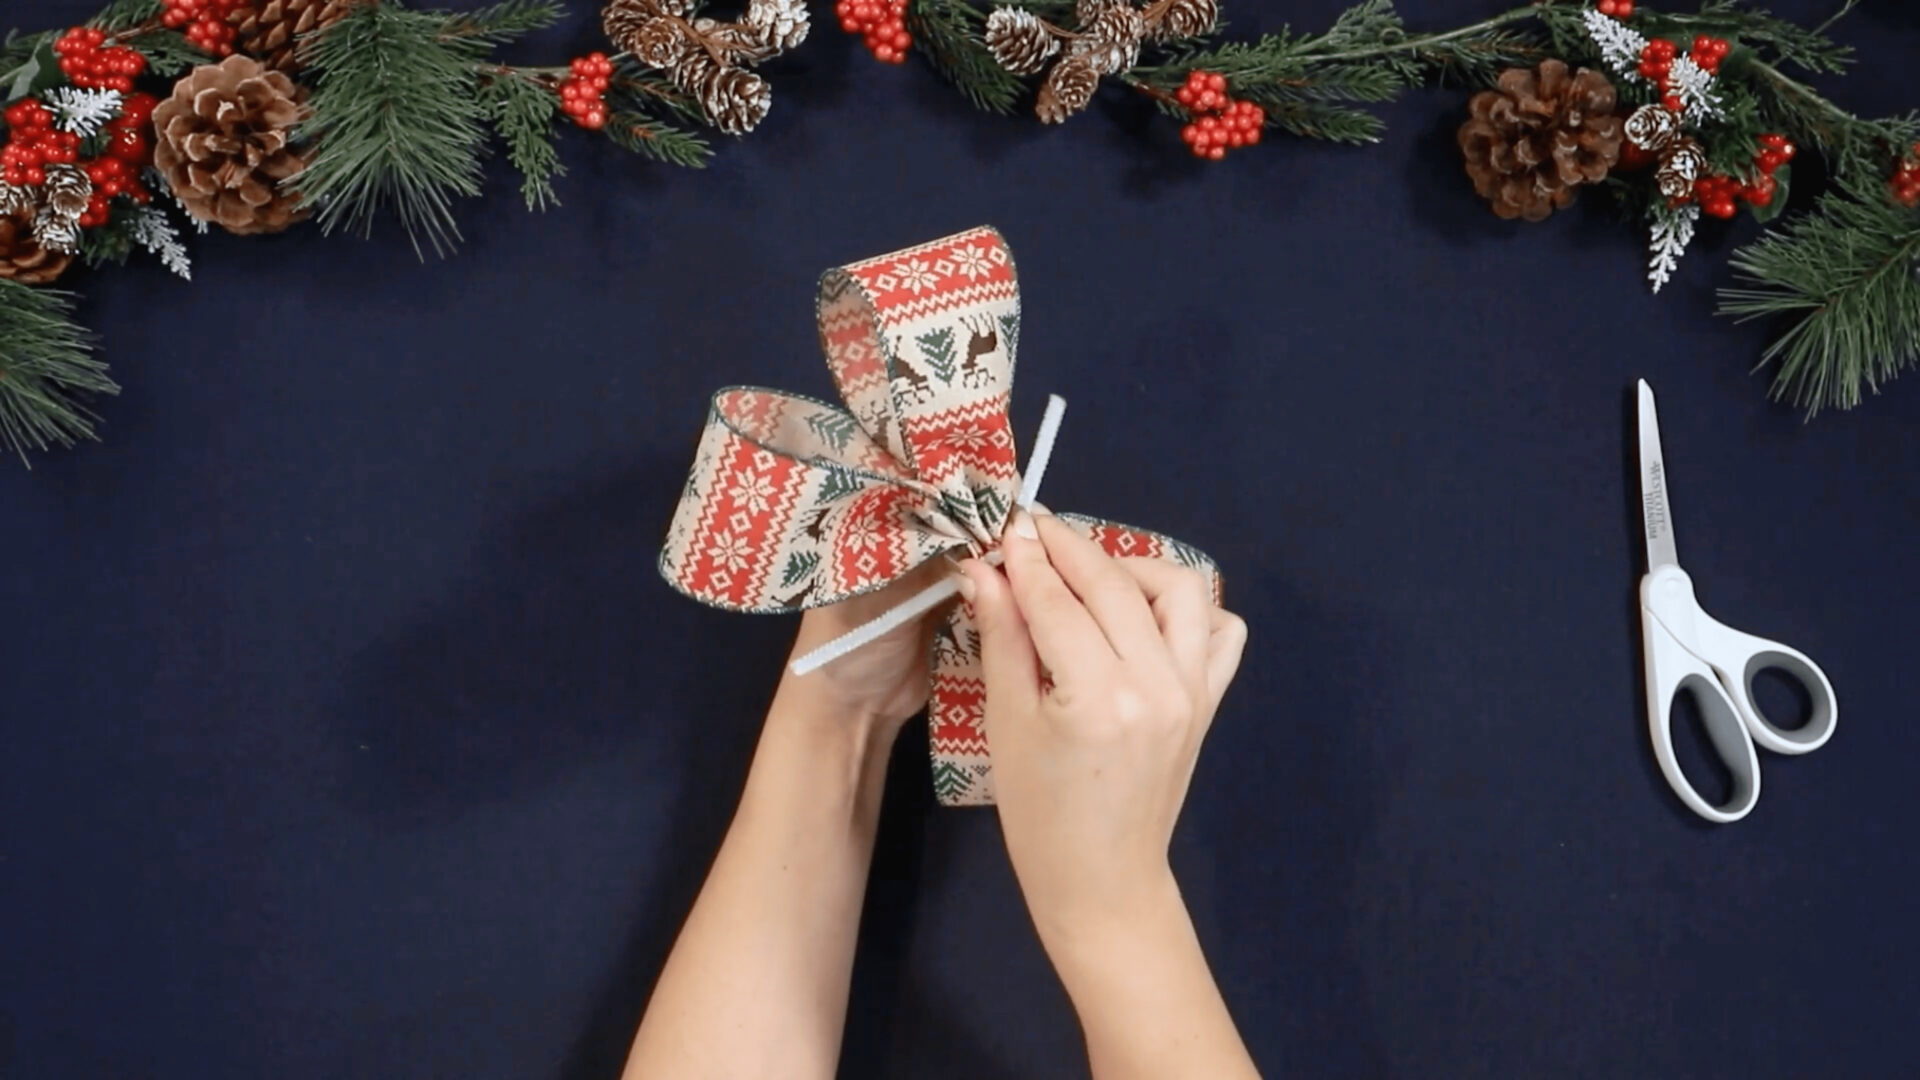
- Then use the pipe cleaner to tie the four loops together. Wrap the pipe cleaner around the center once and twist three times. Then use the scissors to snip off the excess.

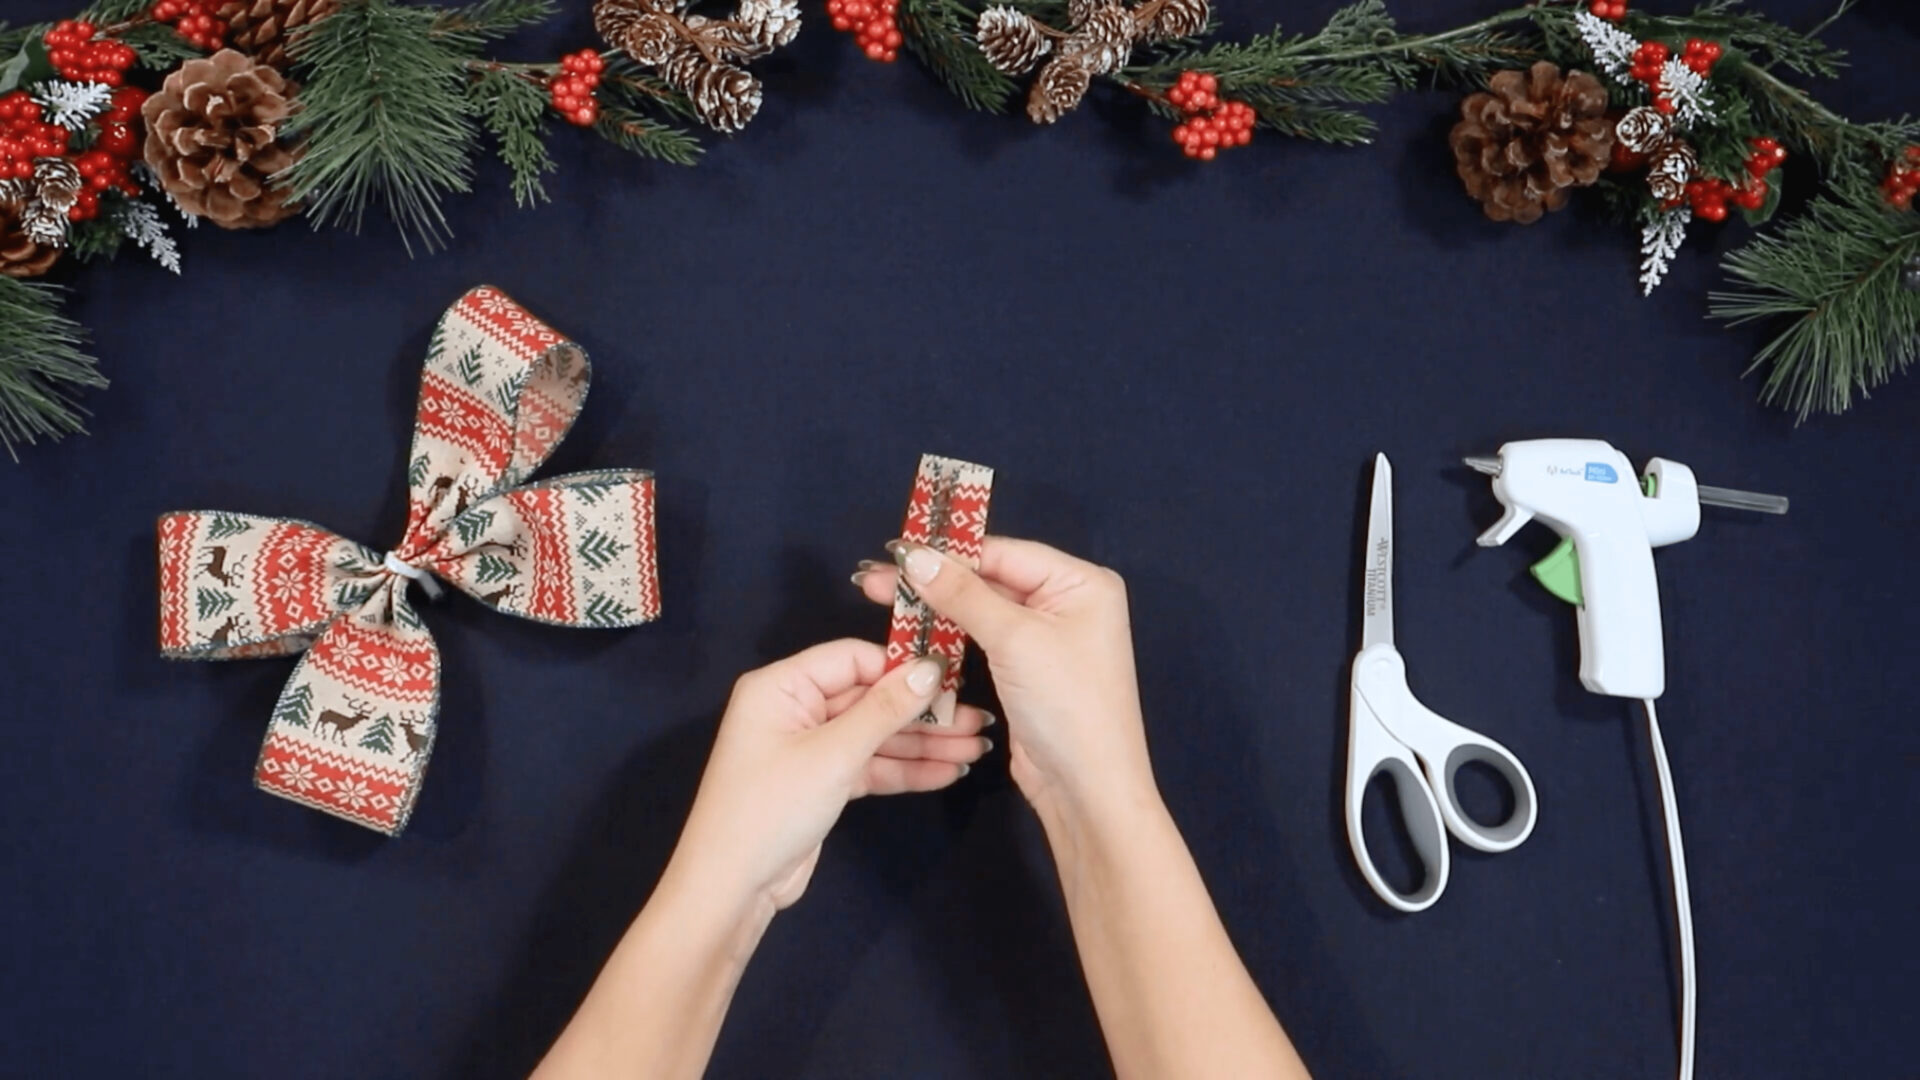
- Take the 4″ ribbon and hold it vertically. Fold the left and right edges into the center. Crease the folds. Hold the bow in one hand with the front facing up and wrap the 4″ folded ribbon around the pipe cleaner to cover the center of the bow. Use the hot glue gun to glue each end of the 4″ ribbon down so that the fabric is tight. Cut any excess length as needed.
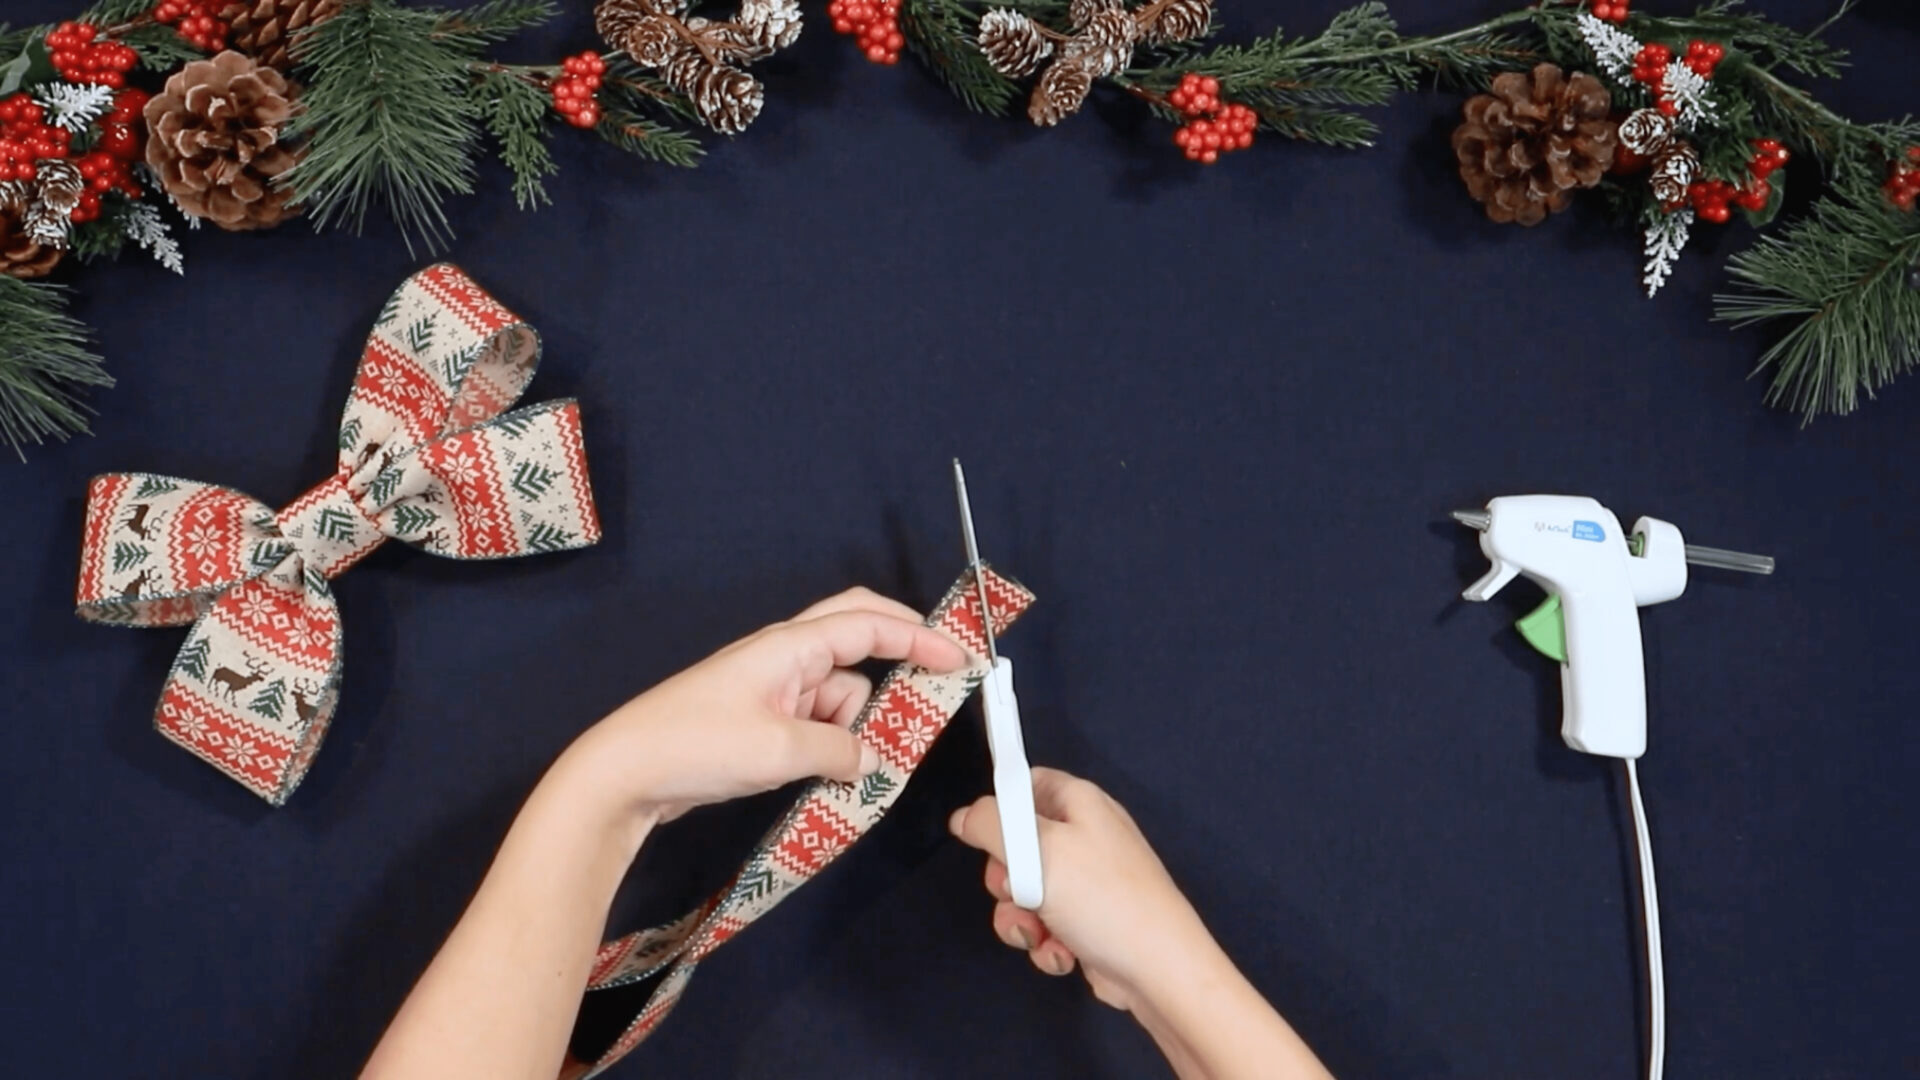
- Using the last 20″ long ribbon, you can now make the bow’s tails. Start by folding the ribbon length-wise in half. On the part where the two edges now meet, fold the bottom corner up to meet the top corner. Then cut at a diagonal angle that starts on the bottom folded side and ends at the top right corner where the ribbon’s edges meet. A 45° angle is best. Finally, use the scissors to cut the folded edge of the ribbon so that you now have two equal length tails.


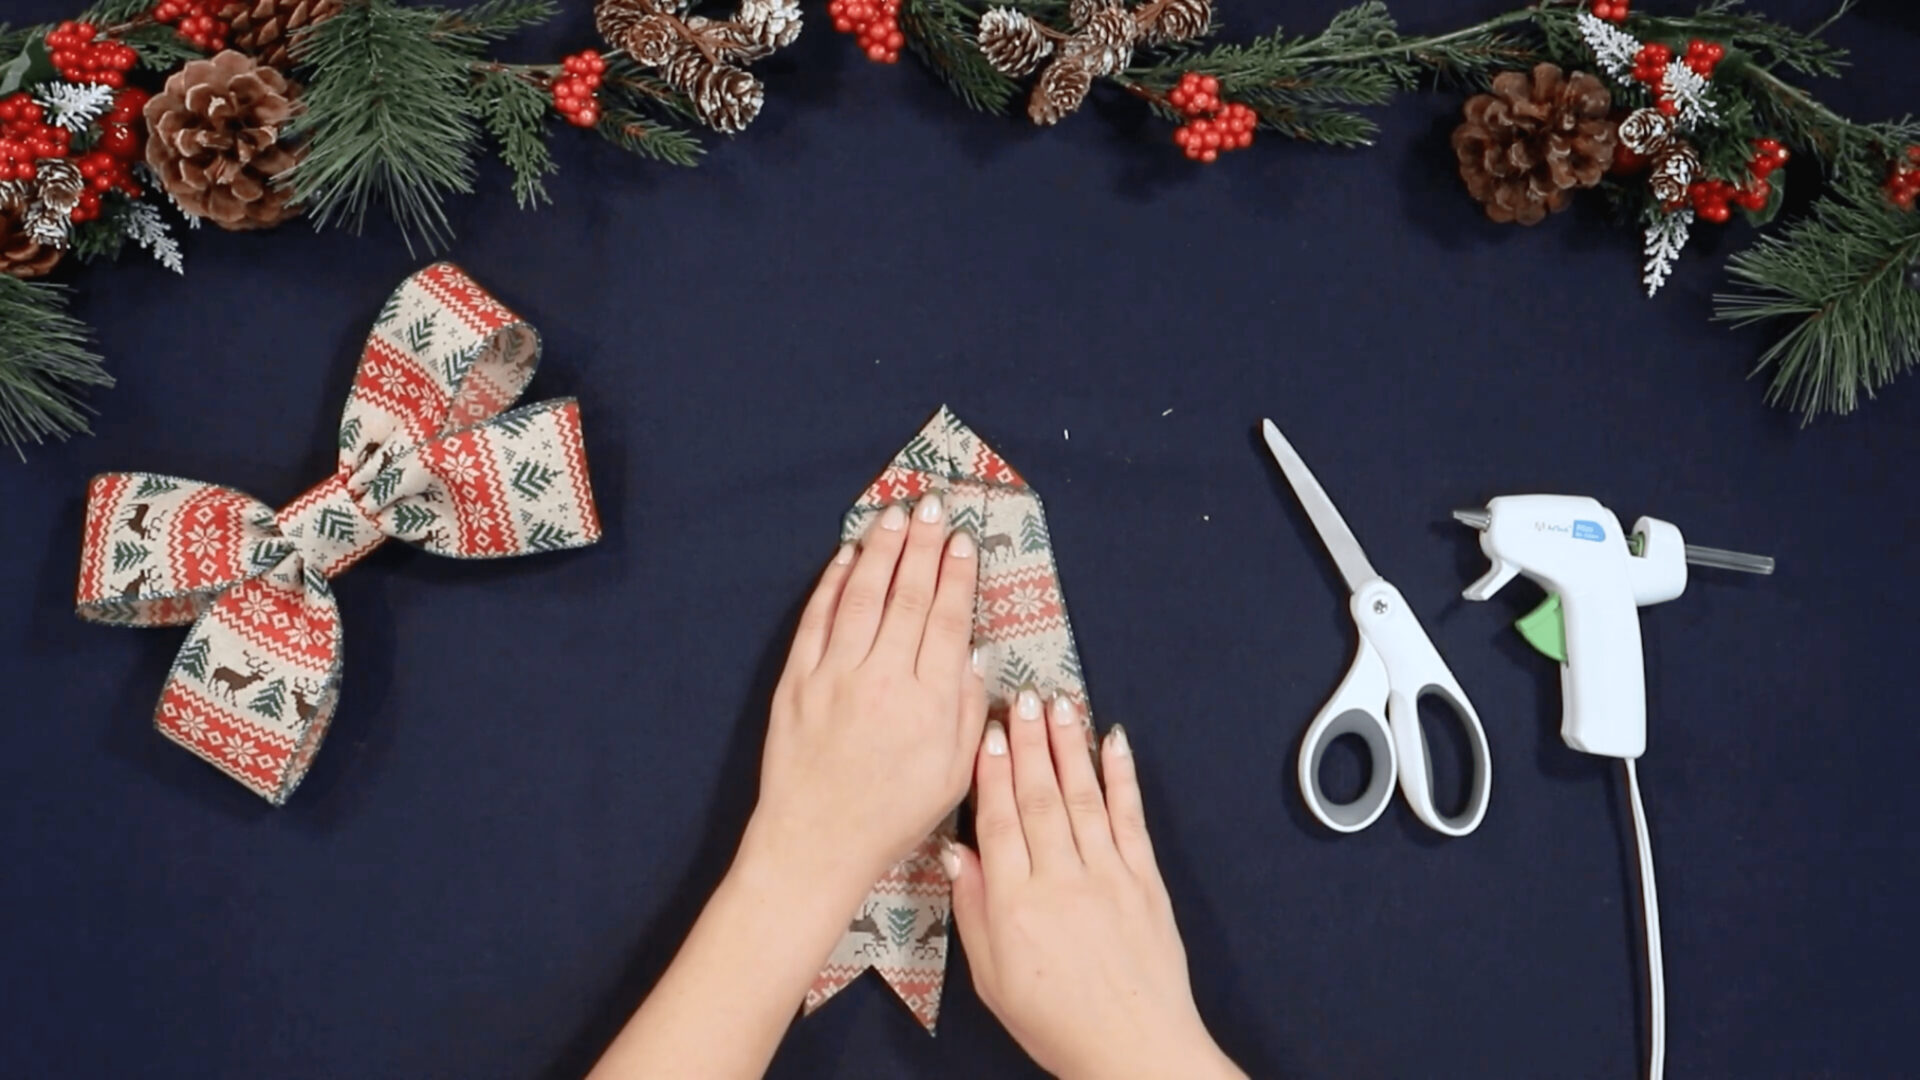
- Fold the top ends of the two tails together in a triangular point and glue down in place. Attach the two tails to the back of the bow by gluing the pointed tip to the back center of the bow. Remember to have the front of the tails facing the bow’s front. You can double check this by flipping the bow over to make sure the correct side is facing.

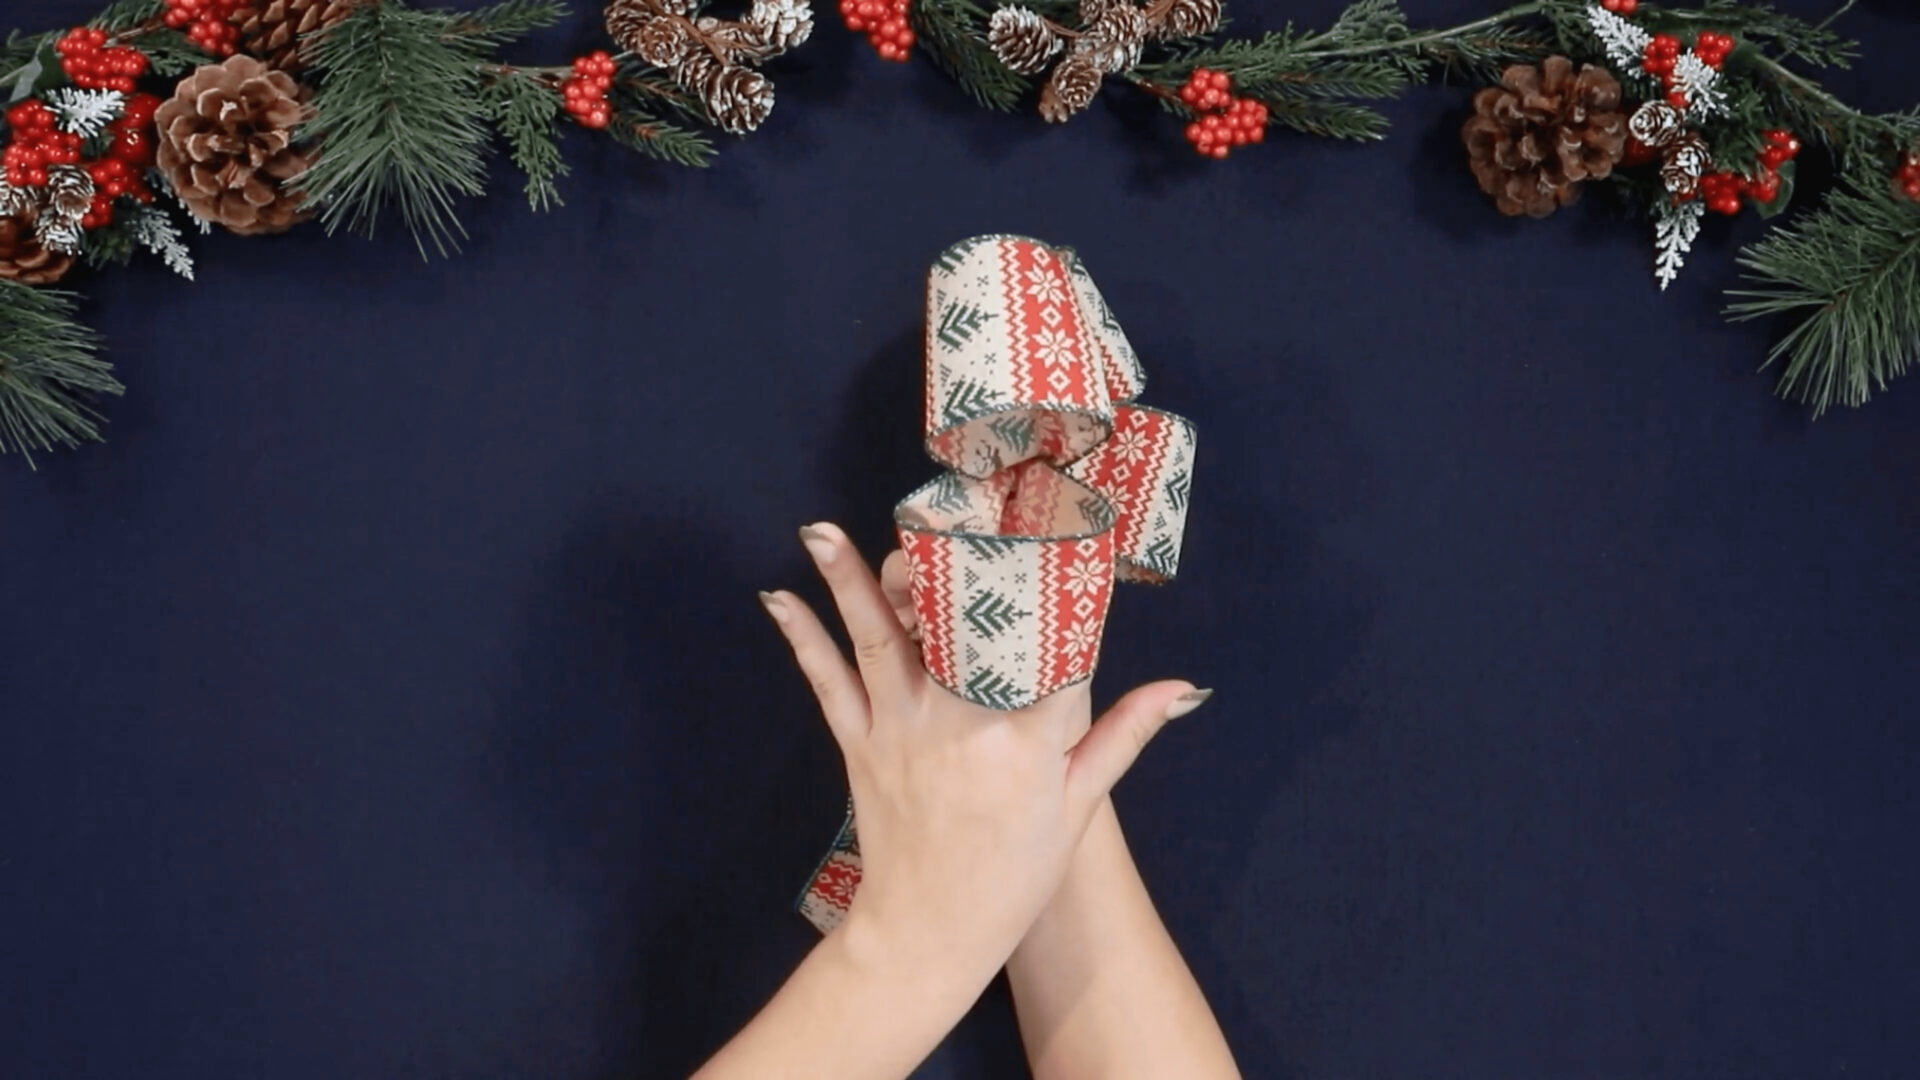
- Use your hands to fluff and round out the loops by pushing outward from the inside the loops.

- Enjoy your new beautiful bow by embellishing a wreath or making a wrapped gift extra cheerful!